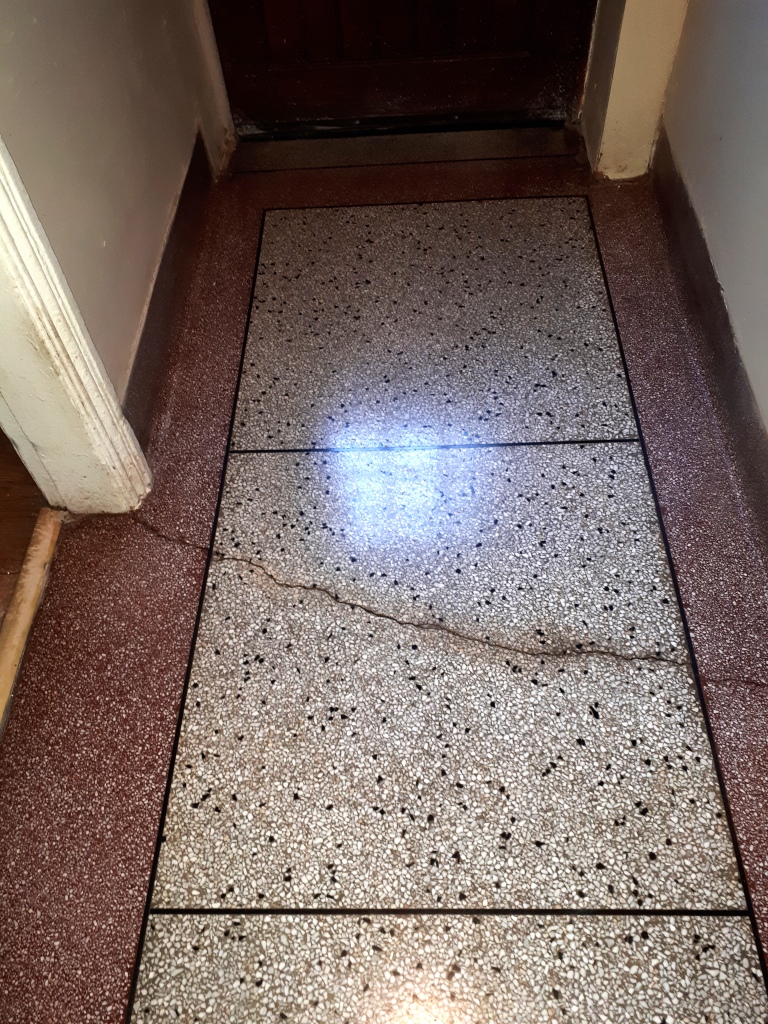
This post follows on from the Victorian Tiled floor article I published earlier, if you recall I was asked to restore a Victorian Tiled Hallway at a house in Dudley and there was a section that was Terrazzo, so I thought it would make sense to write about this separately as the cleaning method is different.
Both period floors were original, having been installed when the house was built over 100 years prior and whilst Victorian tiles are quite the norm in these properties it’s quite unusual to find Terrazzo as this was mostly used in large public buildings.
There was a crack running across the floor which is quite a common problem with Terrazzo as it’s laid in one piece like concrete and any movement in the ground will cause stress leading to a crack. Unfortunately, the only way to resolve this properly is to have a Terrazzo expert relay that section of the floor which would prove expensive.

Terrazzo is the by-product of broken pieces of stone, often Marble, Limestone and Granite, which rather than being wasted are set into to a cement screed and poured onto the floor, then once the screed is set it is grinded to a polish.
Cleaning Original Victorian and Terrazzo Tiles
The polish on Terrazzo will eventually wear down with use and to restore the appearance it needs to be burnished with a series of pads with different grits from coarse to fine.
So, to start the renovation I gave it a general clean with Tile Doctor Pro-Clean mainly to remove any grit before burnishing. Next, the Terrazzo tiles were cleaned using a coarse 400 grit pad fitted to a rotary machine and lubricated with water. This process removes dirt and any coatings such as sealers and the floor needs to be rinsed afterwards to remove the slurry that is generated.
Then to build back the polished appearance, the floor is burnished with an 800 grit medium pad followed by a 1500 grit fine pad. Less water is used this time, but you do need to rinse the floor again after each pad to remove any slurry gets generated during the process. Once this was done the floor was dried with a wet vacuum and left to dry off fully overnight.
Sealing a Terrazzo Floor
The next day, I returned to the property and started with a damp test to make sure the floor was dry and ready for sealing. The floor was dry so I finished the Burnishing process by applying the last pad in the set which is a 3,000 grit (very fine) pad that adds the final polish to the Terrazzo.
To protect the floor from staining and dirt becoming ingrained in the pores of Terrazzo it was then sealed with two coats of Tile Doctor Colour Grow which is a colour enhancing impregnating sealer that protects from within. Once the sealer had dried the floor was buffed with a white pad.

The floor looked a lot cleaner and shiner at the end and the customer was very happy with the transformation.
Source: Terrazzo Floor Cleaning and Renovation Service in Birmingham
All tile sealers wear down over time depending on use and what products are used to clean the floor, so if you do want to keep your sealed floor looking its best talk to Tile Doctor to work out a maintenance program for your tiles.